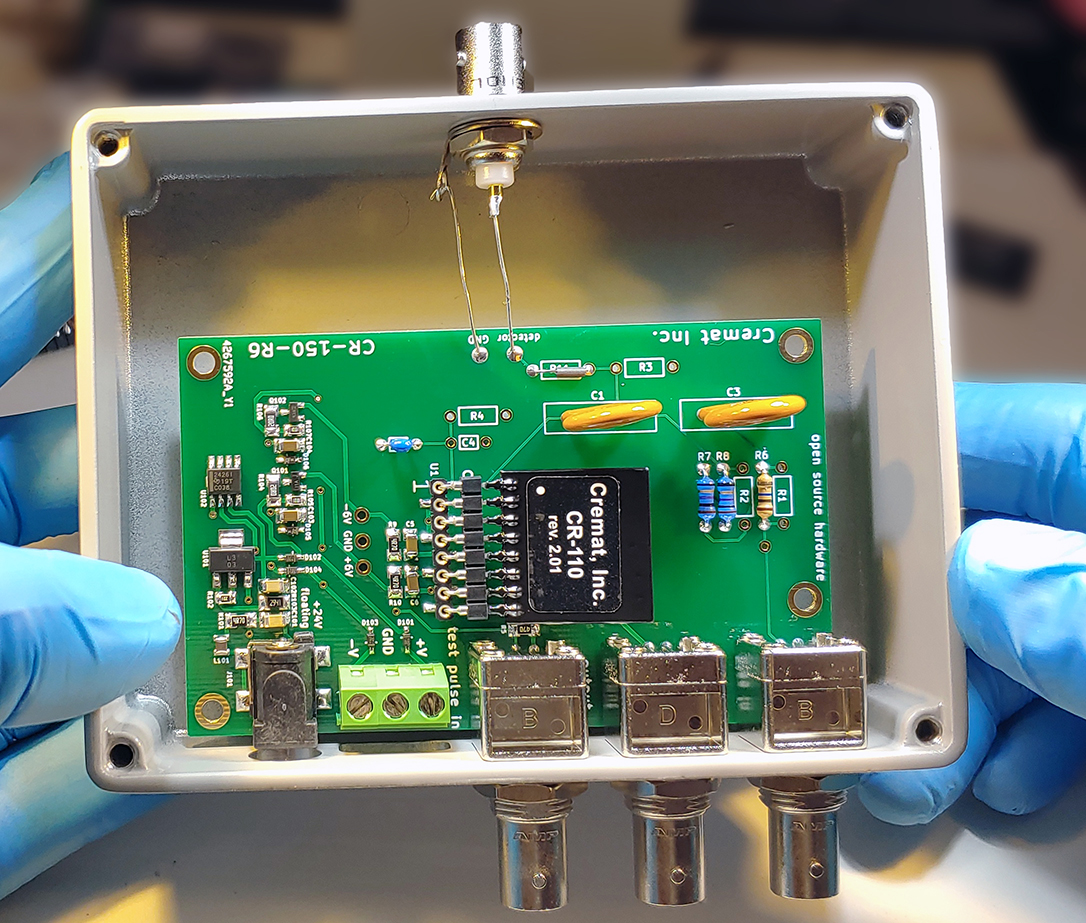
This page describes how to assemble the CR-150-R6 board in 'configuration 1'. This configuration installs the CR-150-R6 board into the CR-150-BOX-R6 housing. This configuration is used for detectors such as pin photodiodes, APDs, CZT or CdTe detectors, surface barrier or PIPS detectors, and gas-based detectors (e.g. He3, proportional detectors). Detector bias voltages must be less than 500V because of the use of BNC connectors. For higher bias voltages consider using Configuration 2.
You will need a soldering iron with solder and flux, a Phillips screwdriver with wide handle, an adjustable wrench, a soft toothbrush to clean the soldered boards, and an oven (100C) to dry the cleaned boards.
The CR-150-R6 board:
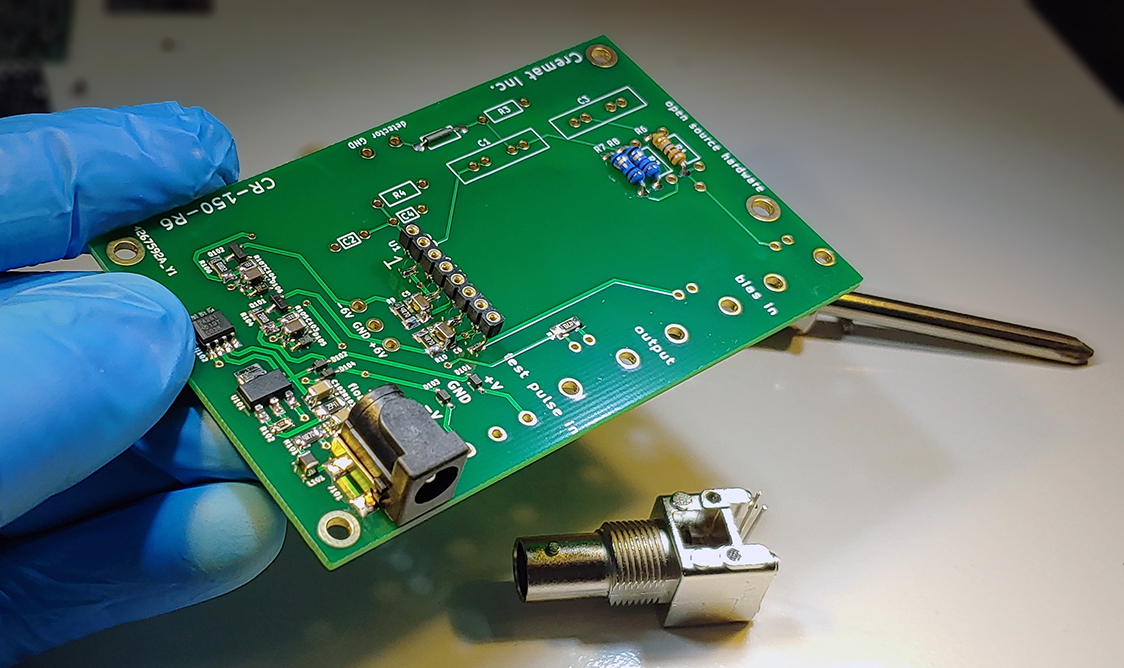
Install BNC connectors:
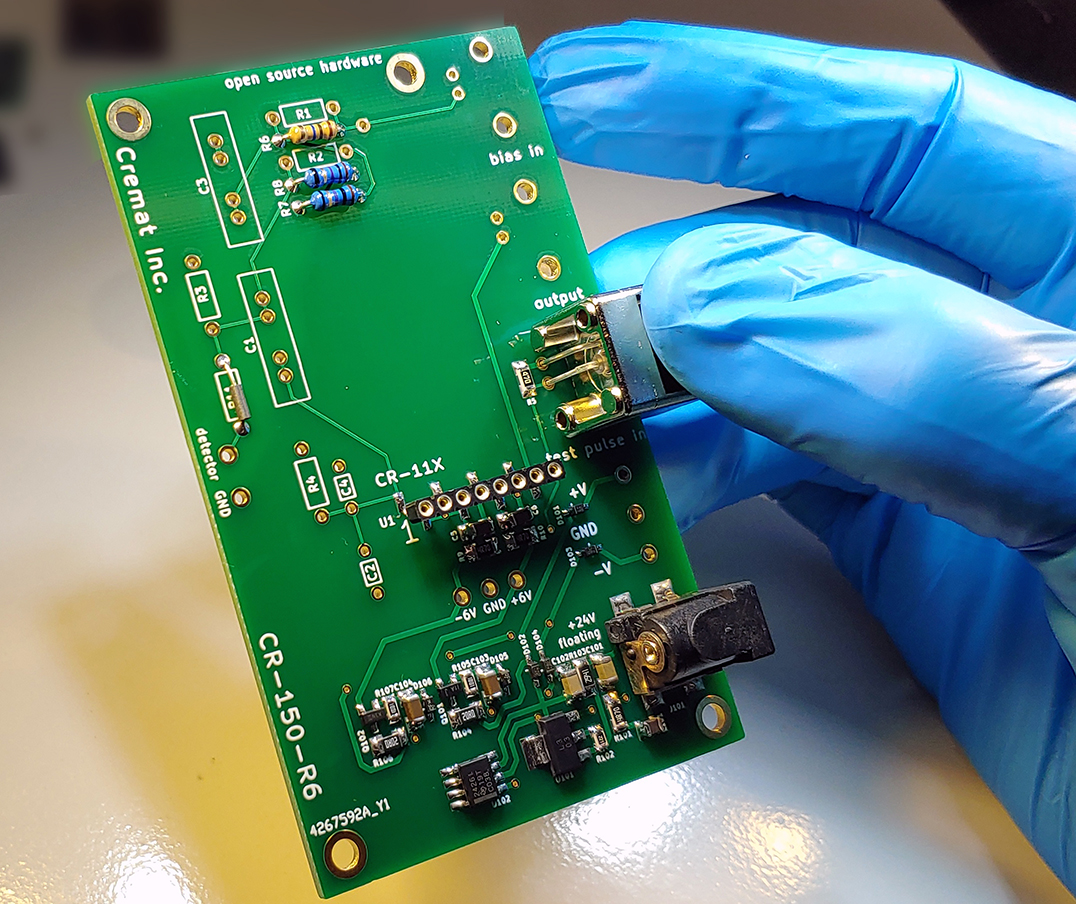
Place the two wires of one of the panel mount BNC connectors in the 'test input' position:
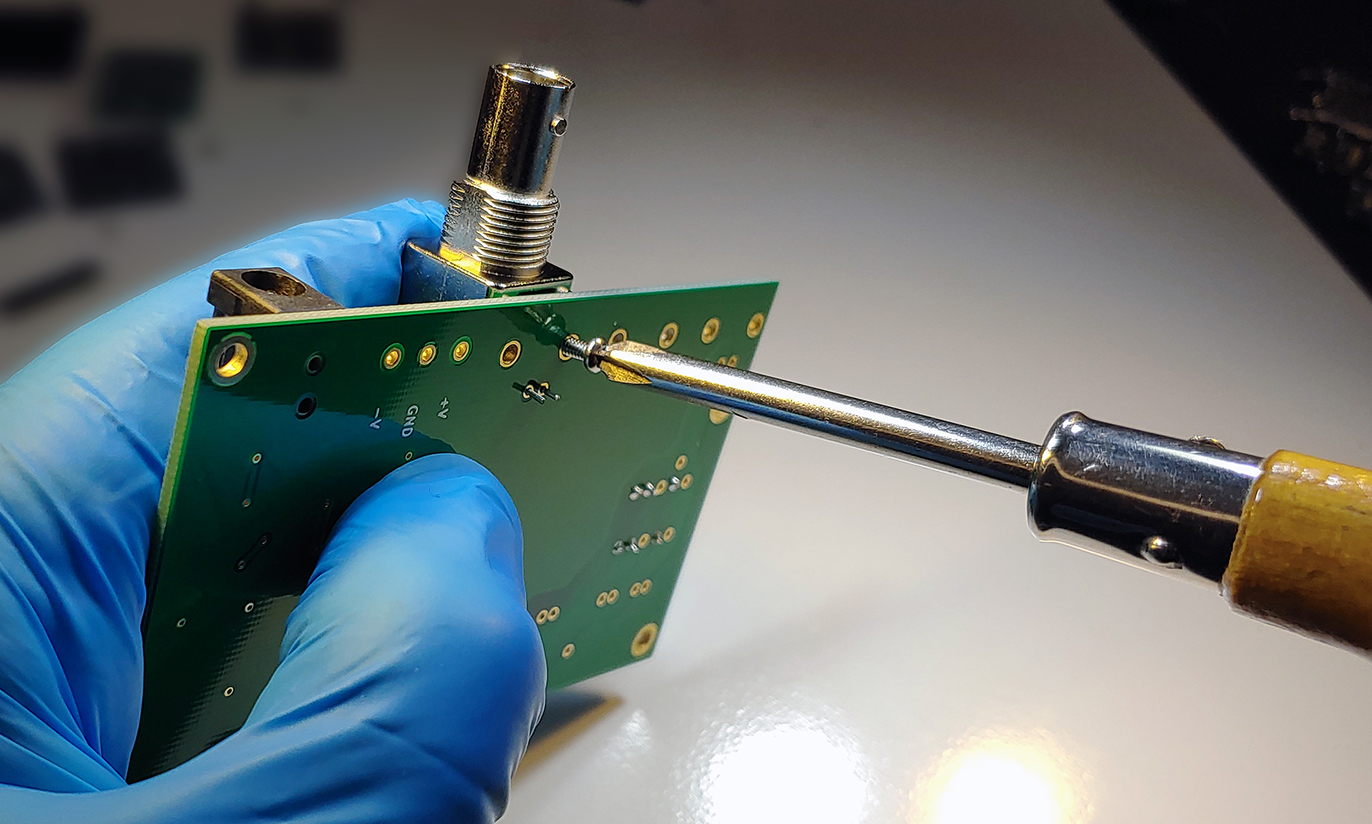
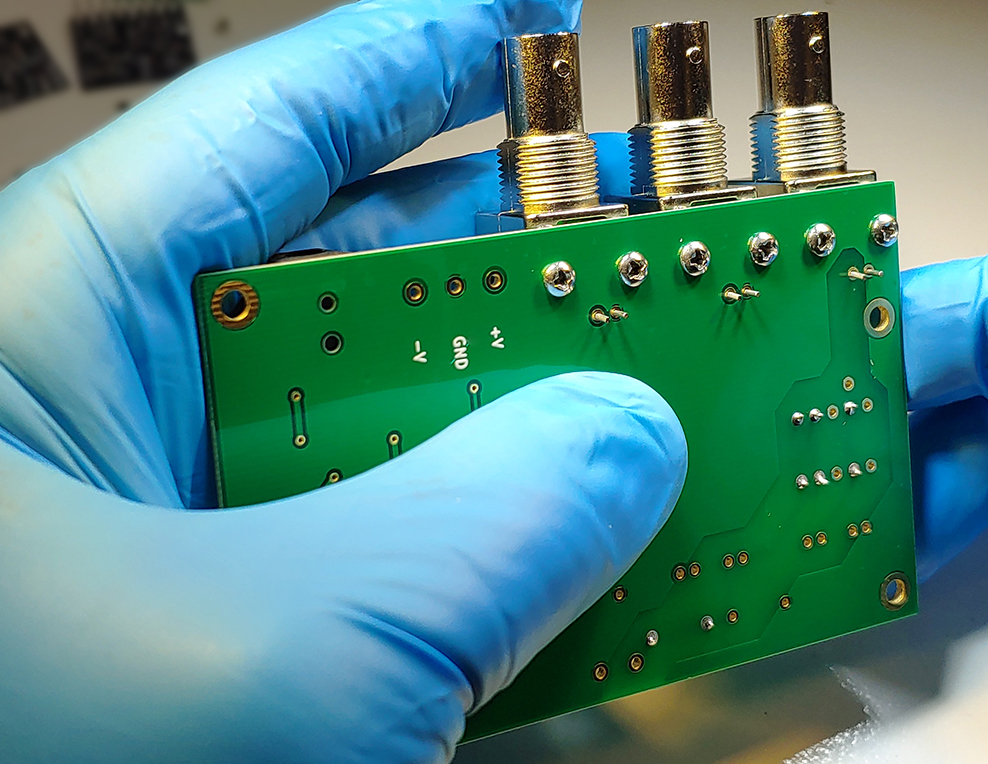
Use a Phillips screwdriver to screw the (included) 2-56 self tapping screws into the connector. Note: the screw holes in the BNC connectors do not come already tapped. The self tapping screws form their own threads in the hole when being inserted. More information on self tapping screws can be found here. Do not try to use a thin jeweler's screwdriver to insert the screws as you will need a screwdriver with a wide handle to properly apply the needed torque.
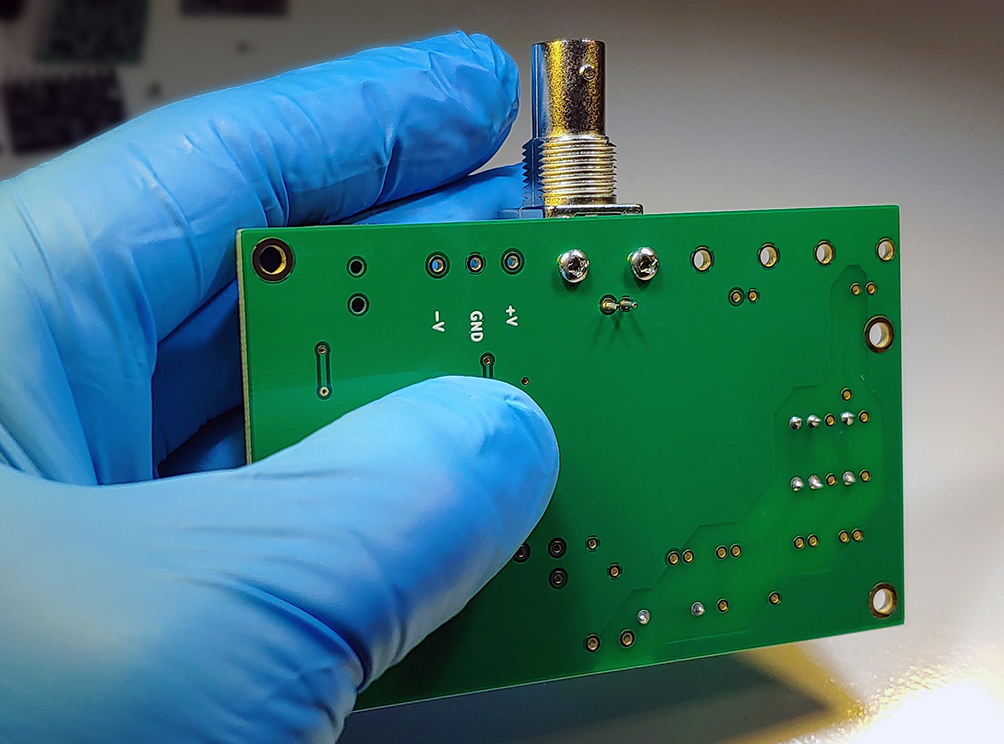
Do the same thing for the remaining two BNC connectors. Solder the wires to the board.
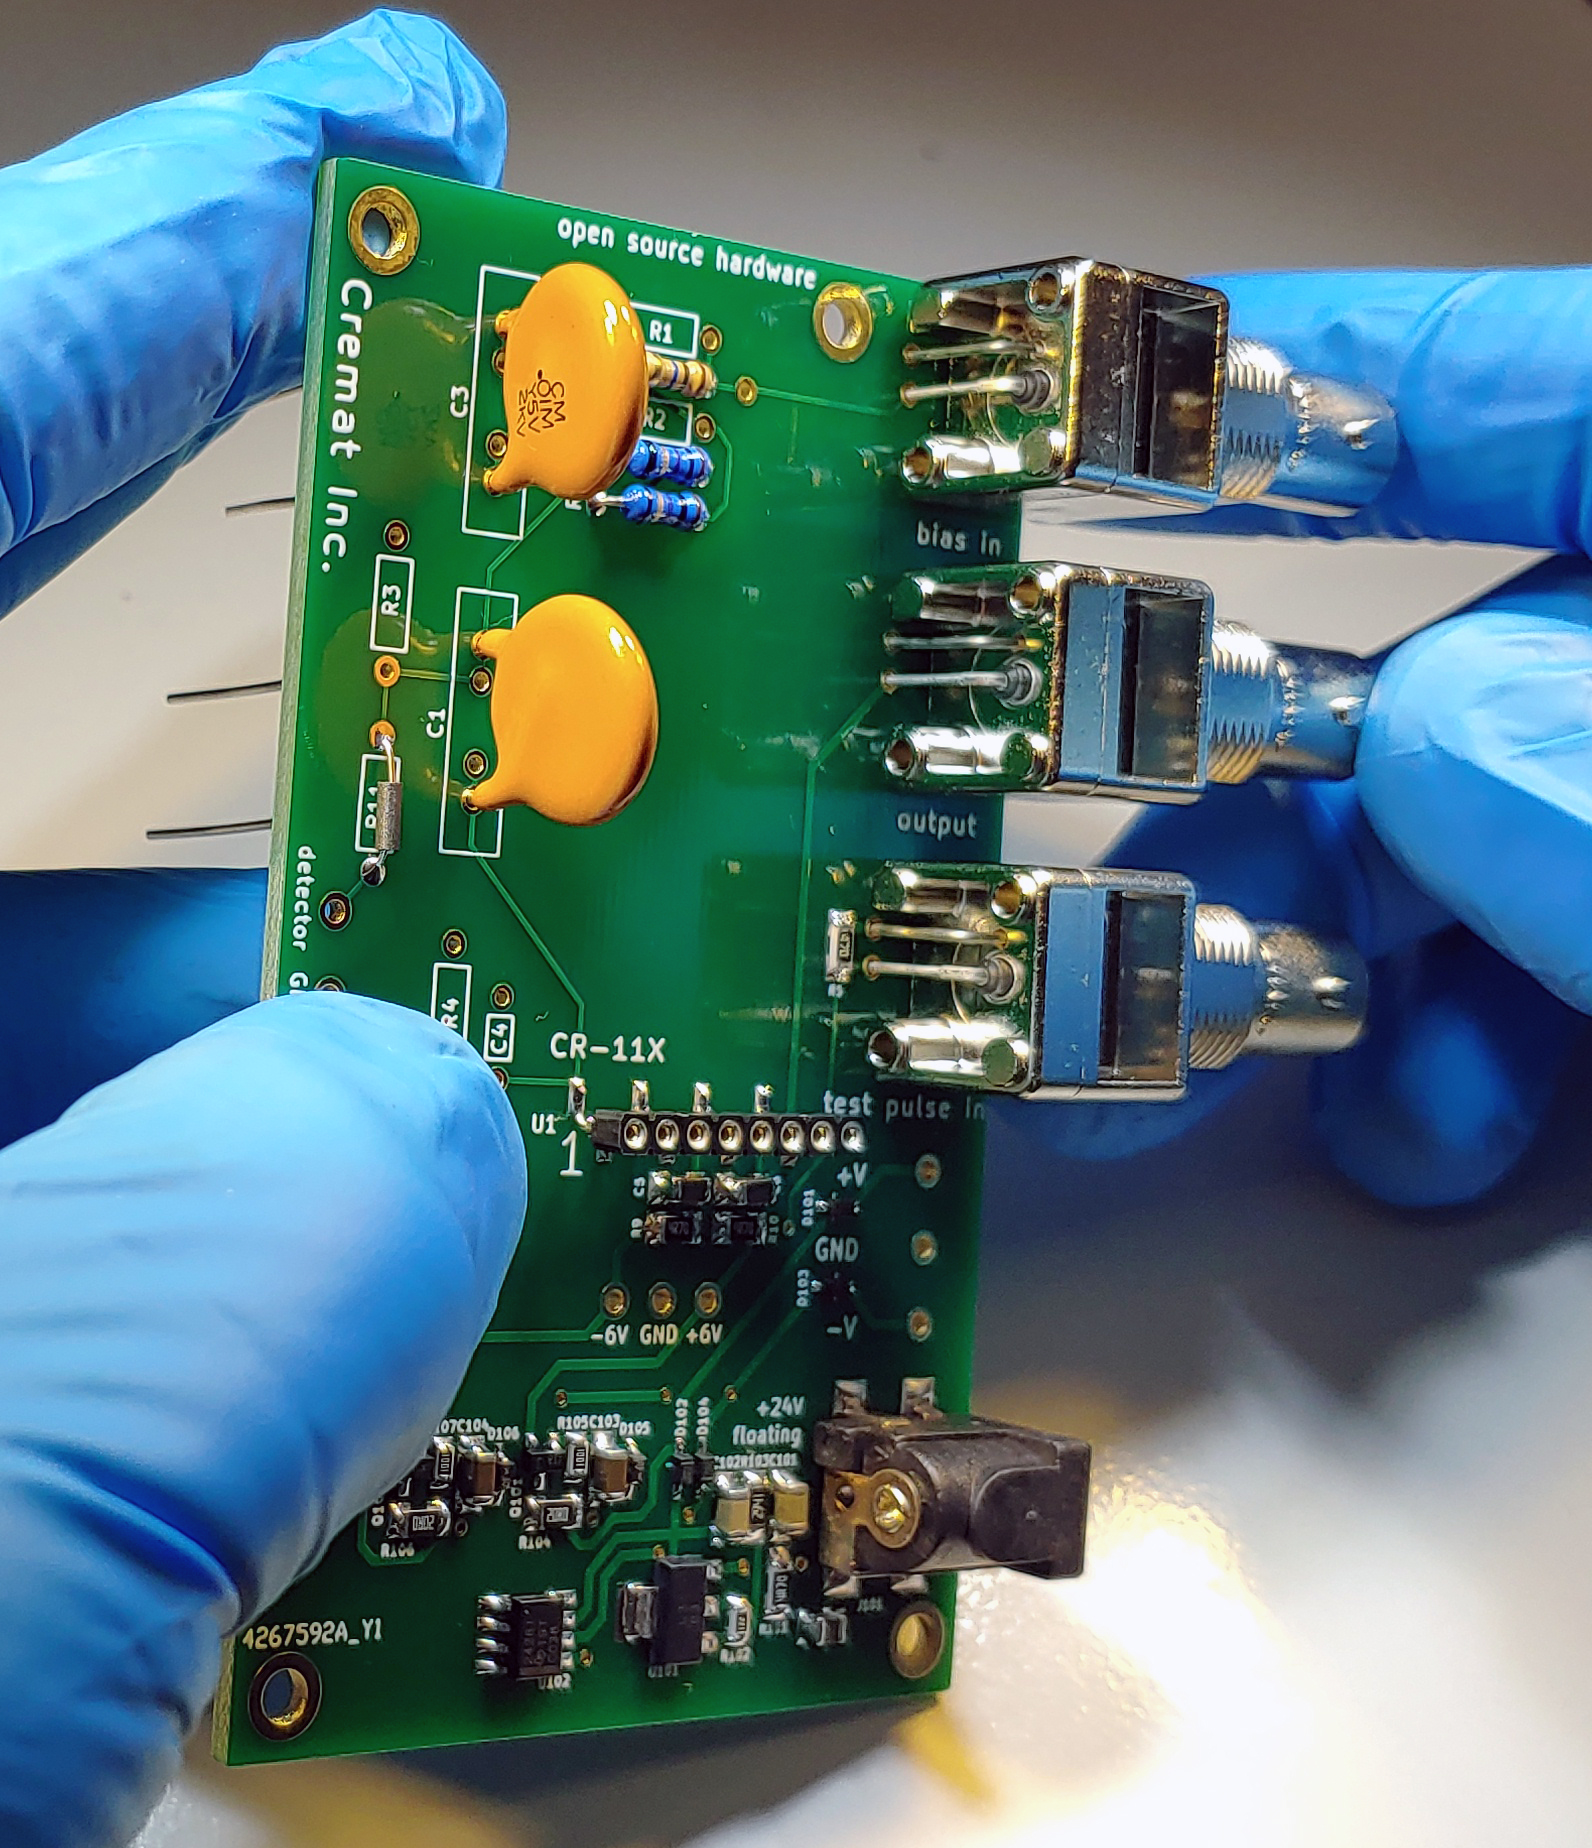
Install filter and blocking capacitors
Install the two orange-colored 0.01uF HV capacitors (C1 and C3). Solder them into place and trim the leads.
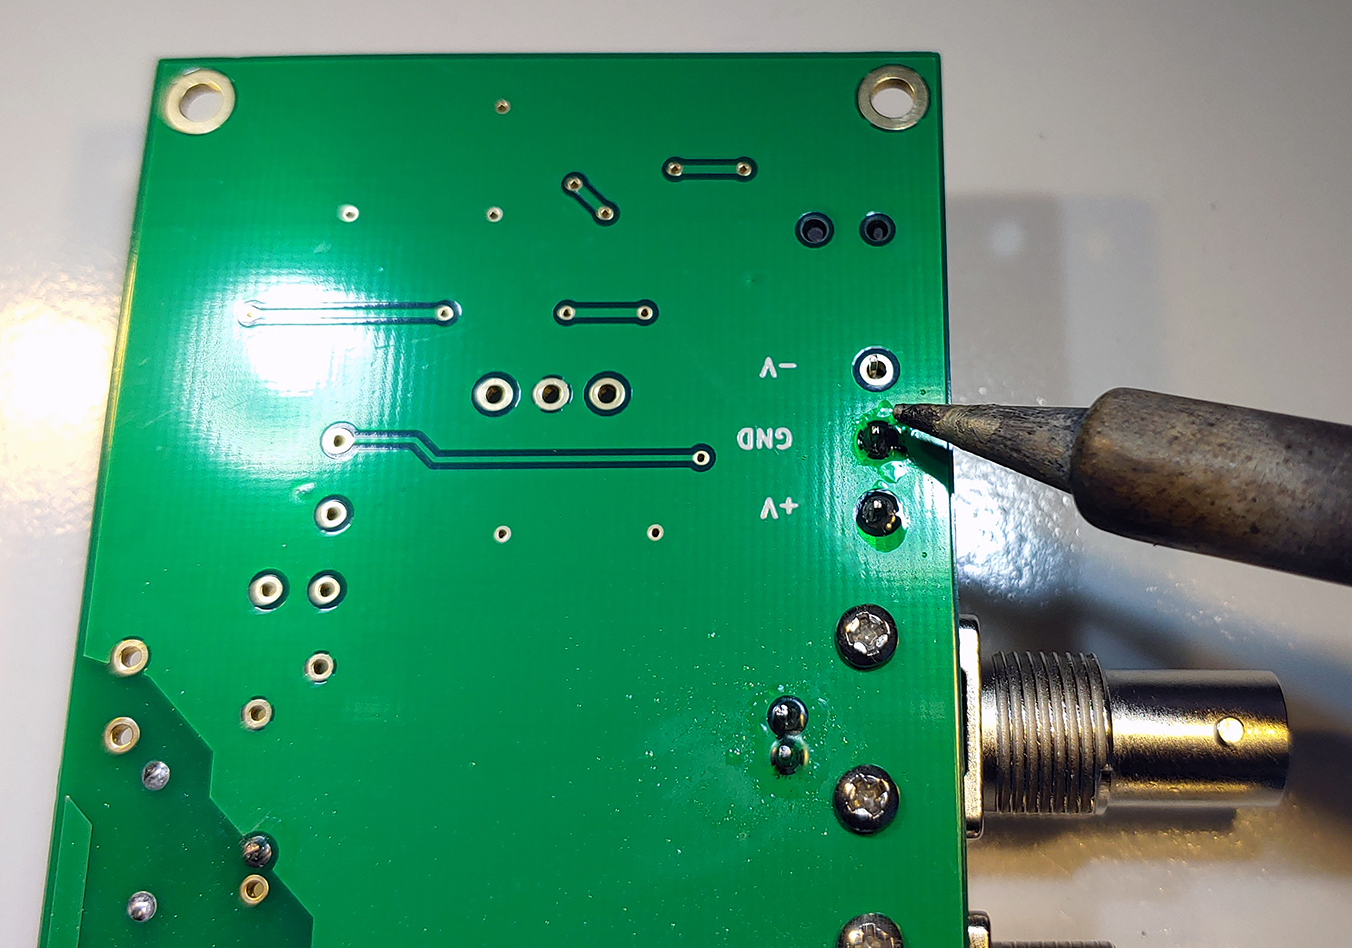
Install the 3-position terminal block
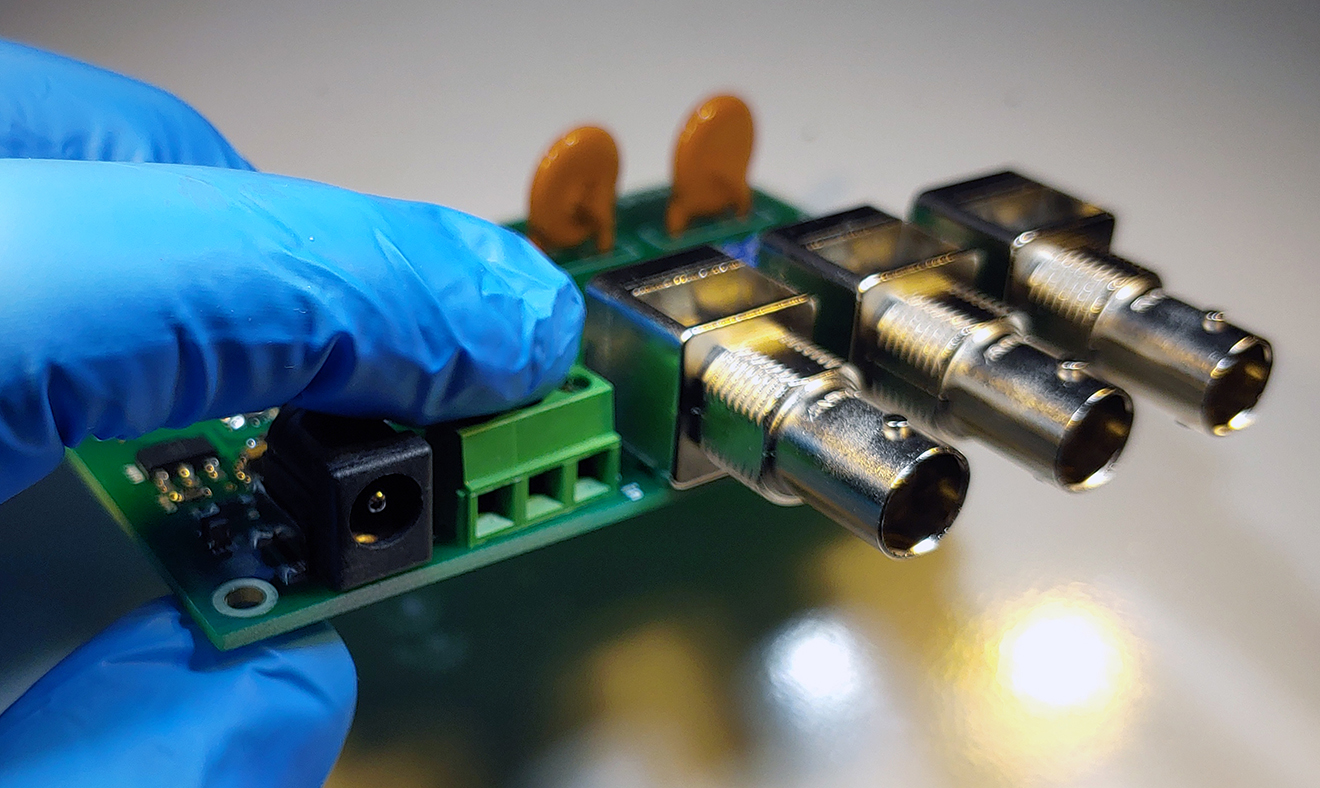
And solder it into place:
Install the test input coupling capacitor
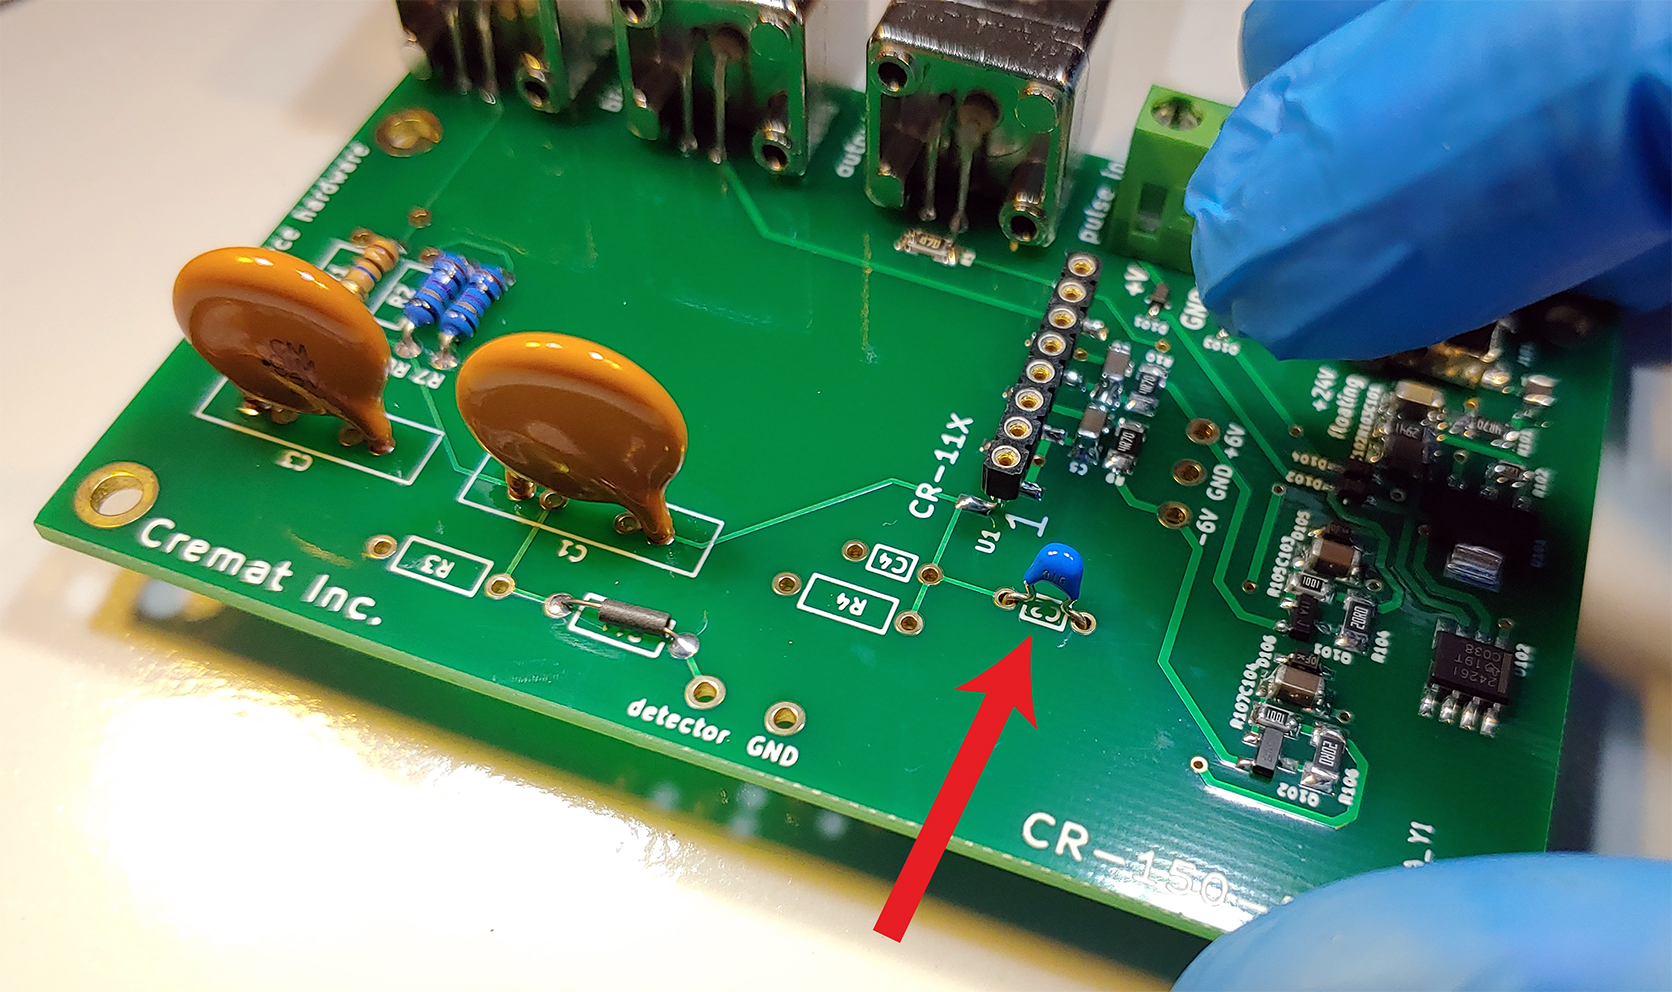
Install and solder into place the 1pF test coupling capacitor C2 (blue):
OPTIONAL: Install the 220 ohm input protection resistor
The CR-150-R6 board is provided with a jumper in the R11 position. R11 is in series with the detector, and is intended to limit the detector current in the event of detector sparking. Sparking can destroy the preamplifier because of the enormous amount of charge it causes to flow through the input. More on that subject can be found here: Input protection. The protection resistor does cause some additional electronic noise and can slow the rise time performance.
If this protection resistor is necessary for you, remove the jumper at R11 and install the 220 ohm current limiting resistor.
Solder wires to the 'input' terminals
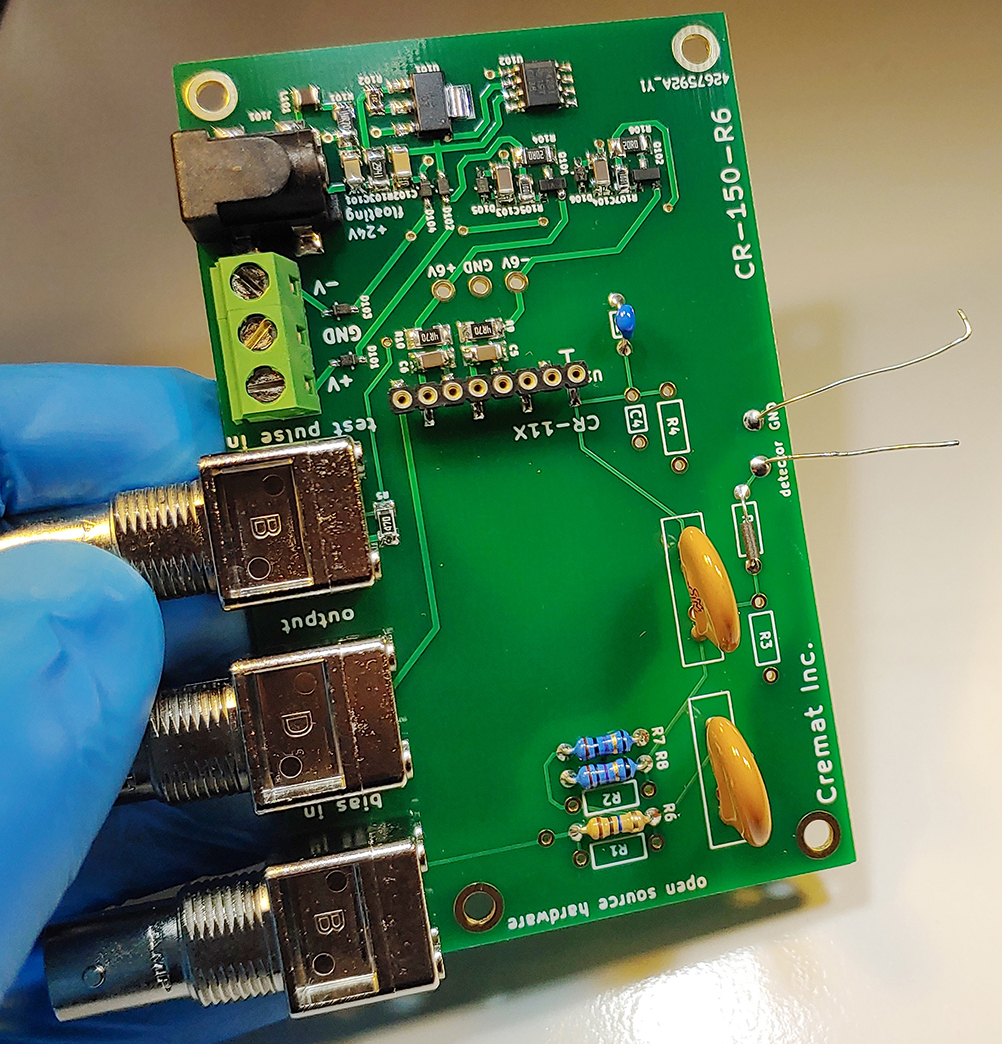
Install and solder into place two 2 inch (5cm) wires onto the 'detector' and 'GND' positions.
Clean the board
Soldering on the board is completed! Clean off the residual flux. If you used rosin flux then you will need isopropyl alcohol to clean it. Water soluble flux needs only hot water. Dry the board completely before advancing (1hr in a drying oven at 100C).
Install the board into shielded housing
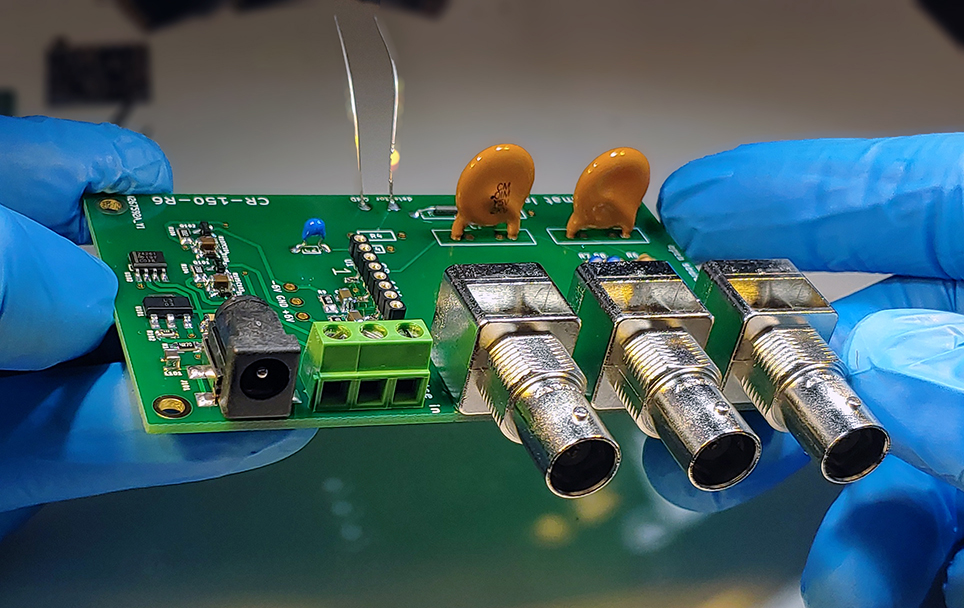
Because the CR-110 and CR-111 are highly sensitive preamplifiers, they need to be operated in a shielded environment to avoid pickup from ambient EMI. At this time we can place the CR-150-R6 board into the CR-150-BOX-R6 housing:
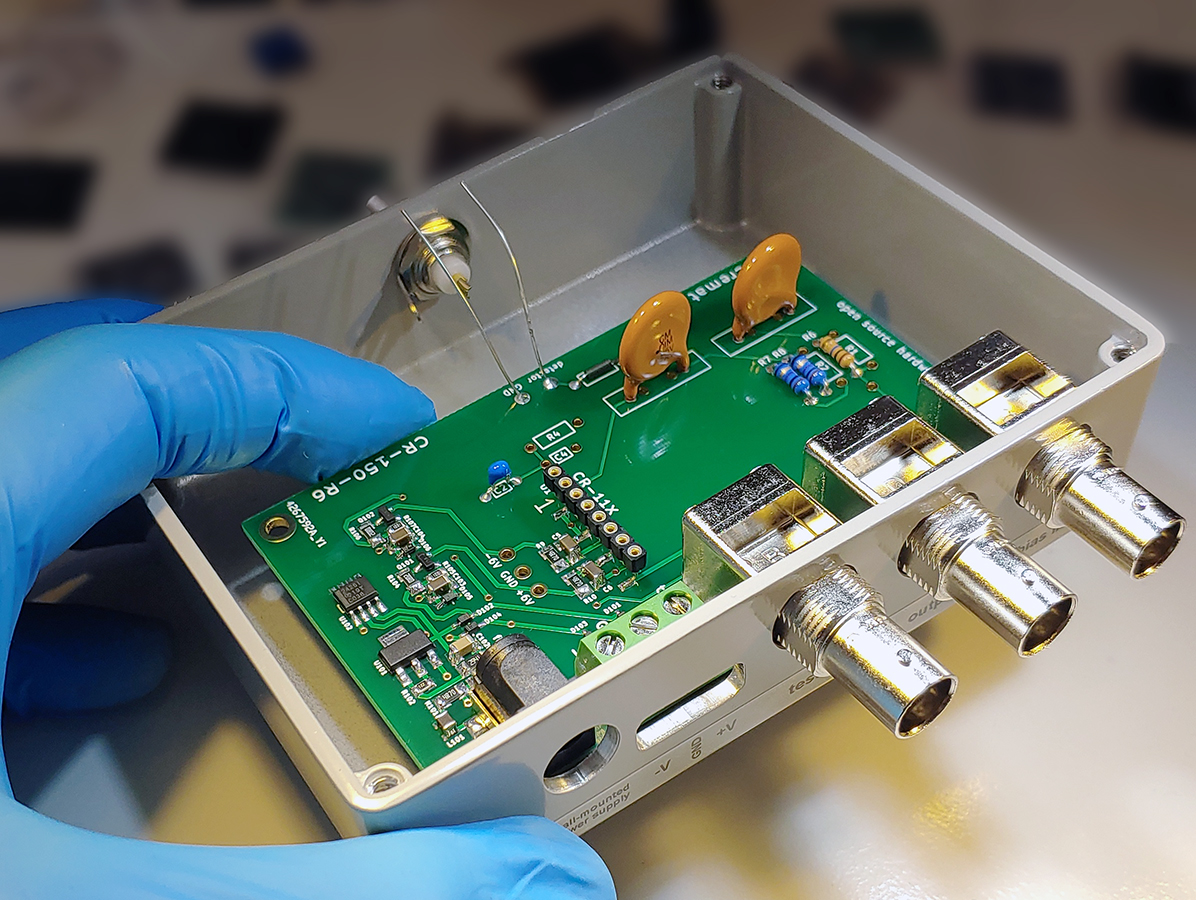
Place the lock washer and nuts onto the BNC connectors:
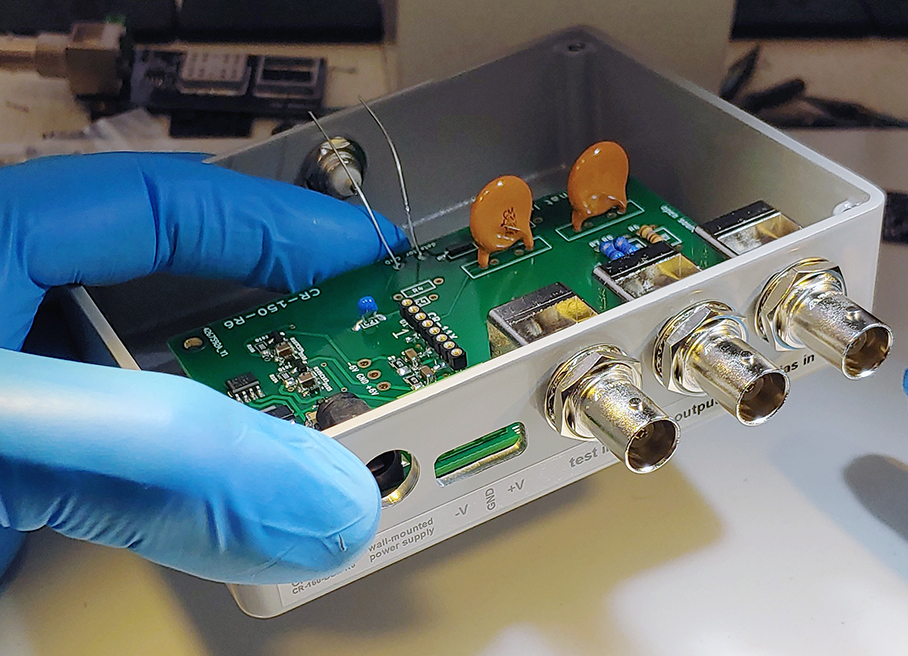
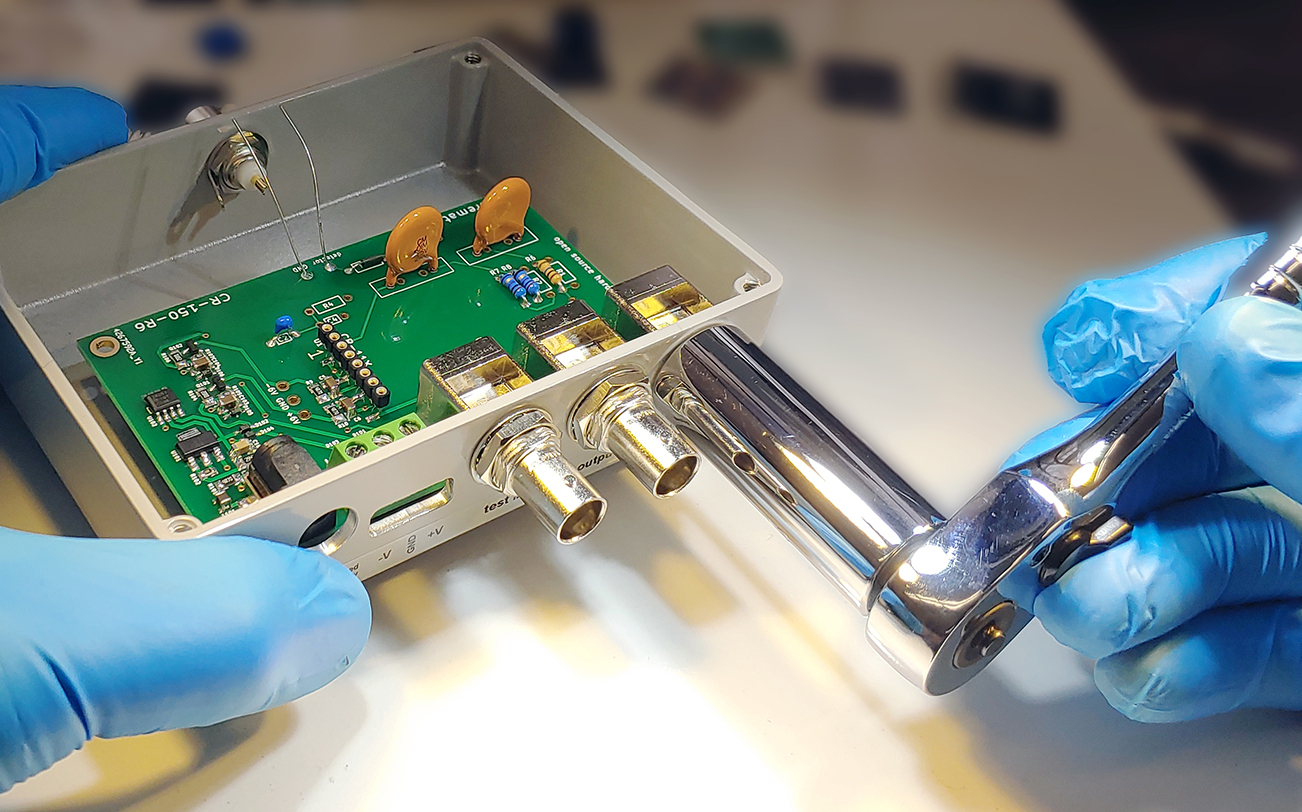
Tighten the nuts. A carefully-used adjustable wrench would be the best tool for this.
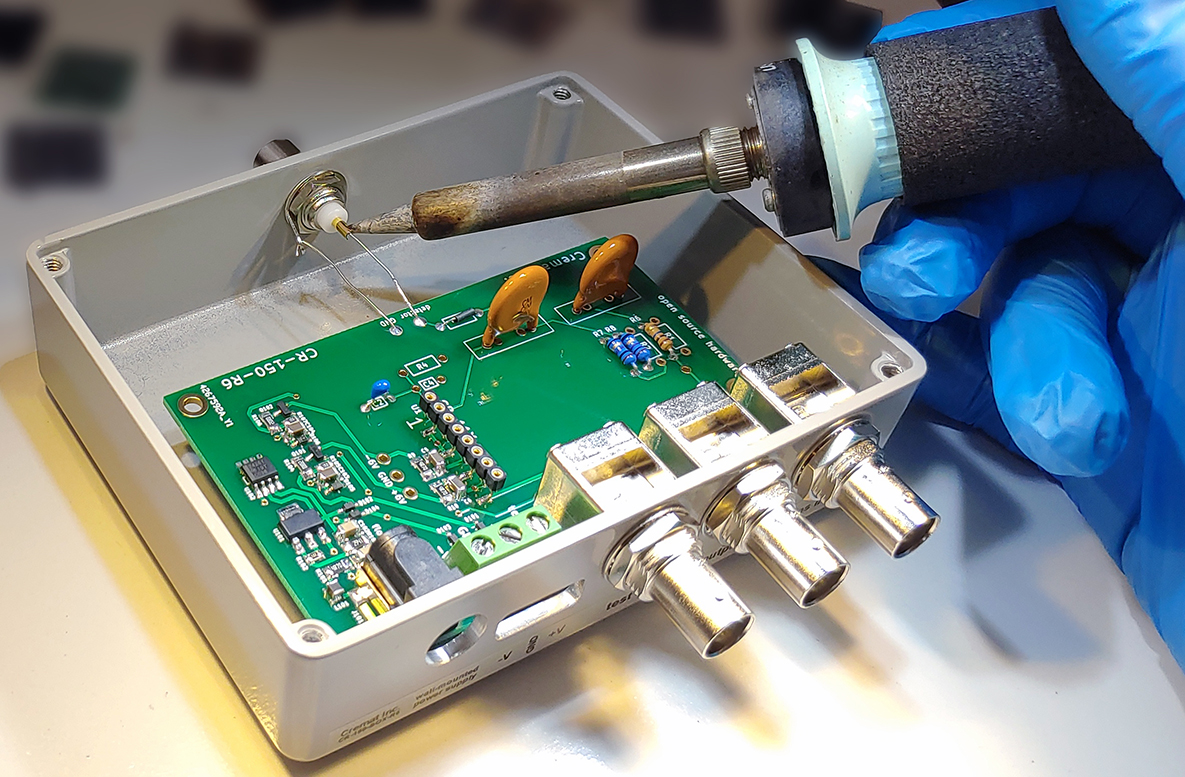
Solder wires to BNC connector
Solder the two wires onto the BNC connector after trimming their length.
Install the CSP module
Install the CSP module onto the right angle adapter:
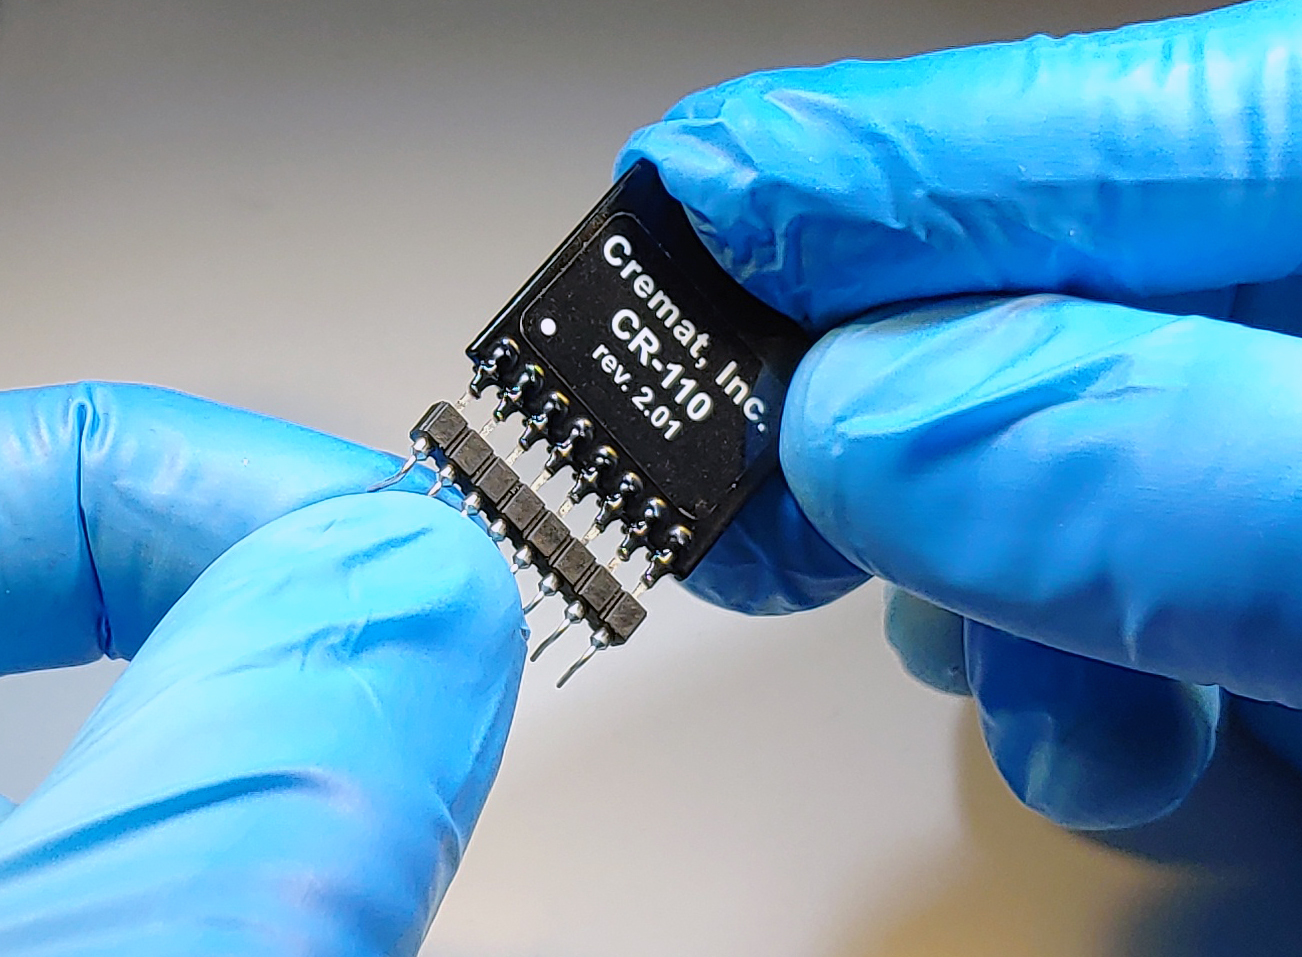
Push the adapter/CSP onto the 8 pin SIP socket on the CR-150-R6 board:
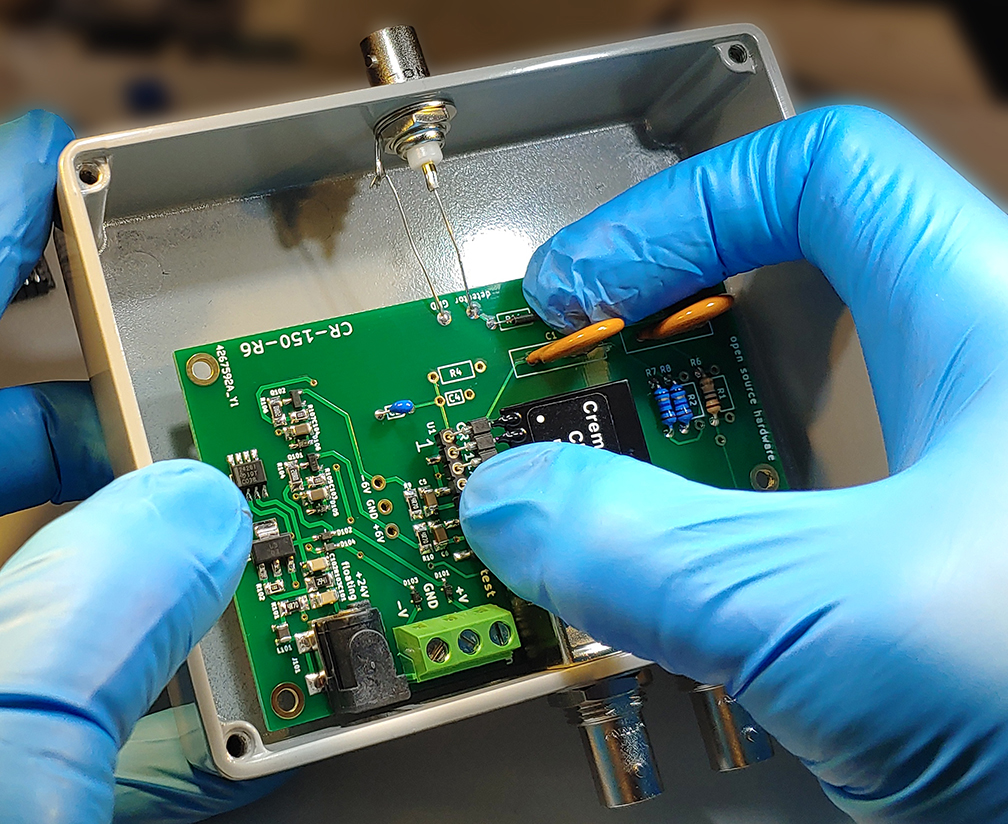
Completed assembly
Assembly complete after you fasten the lid!
