The CR-150-R6 is an evaluation board for any of the CR-11X CSP modules. The CR-150-R6 board has dimensions: 3.7 inches x 2.3 inches. The board has provisions to be powered either by a wall-mounted power supply (CR-24V, sold separately) or by the user's +/-12V power supply. There are 3 PC mountable BNC connectors included but not installed onto the board. 'AC coupling' is used to connect the detector to the preamplifier. Provisions for biasing the detector, and a 'test input' are included. Various configurations of shielded housings are available for this board, you can find more information here.
What is included:
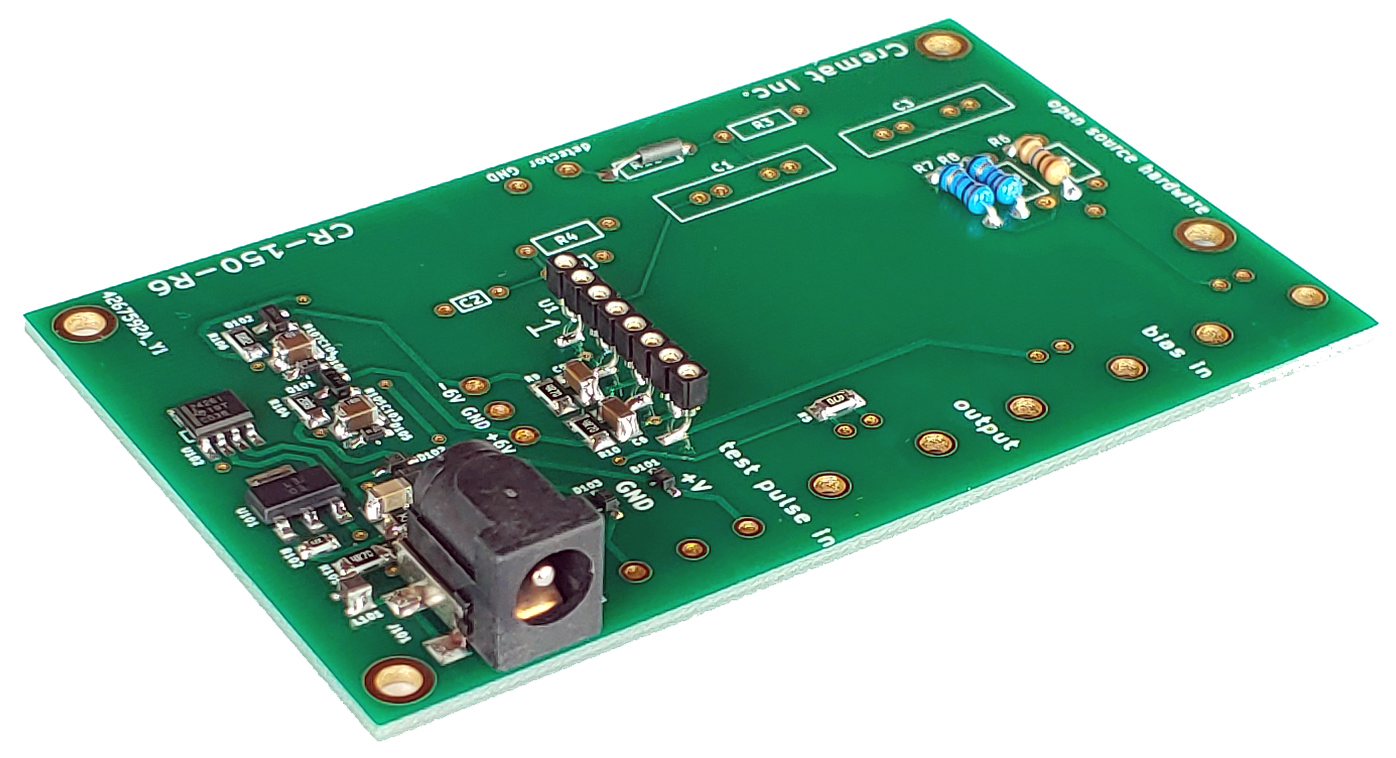
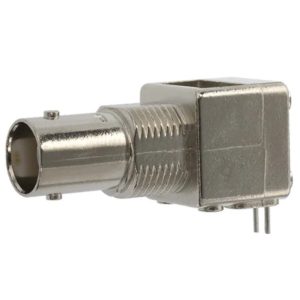
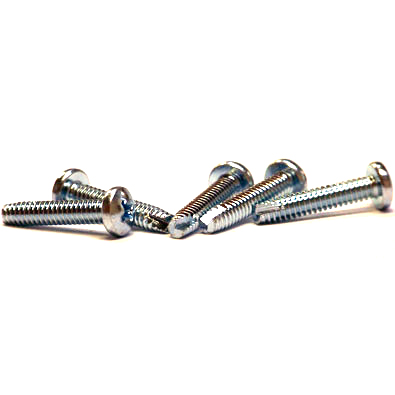
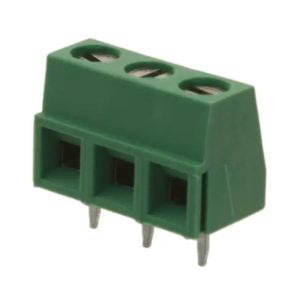
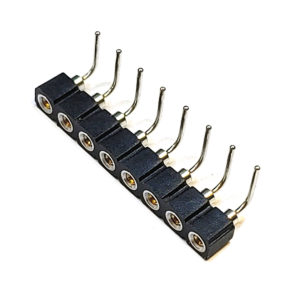
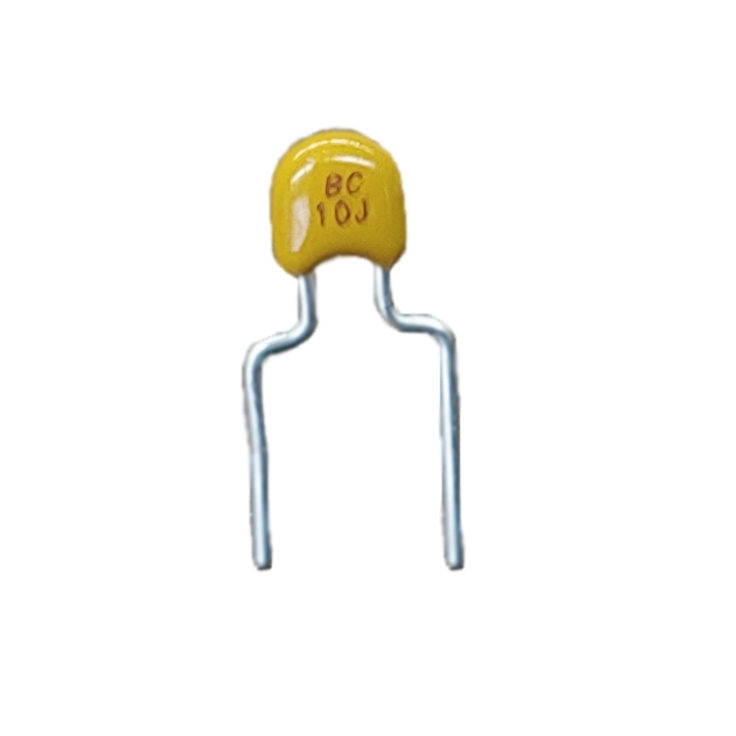
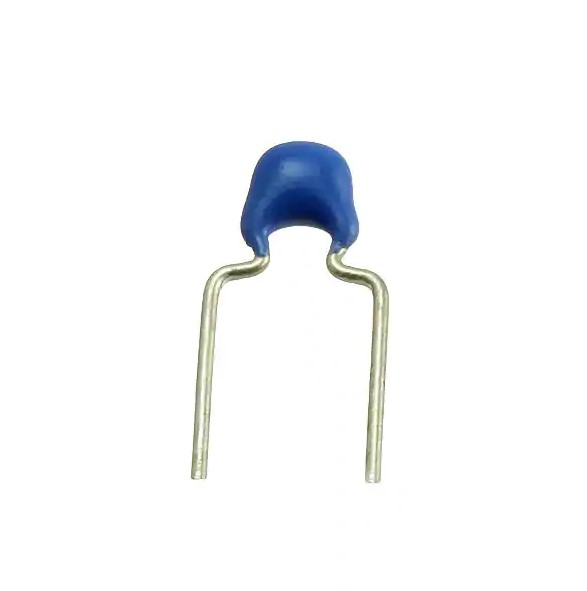
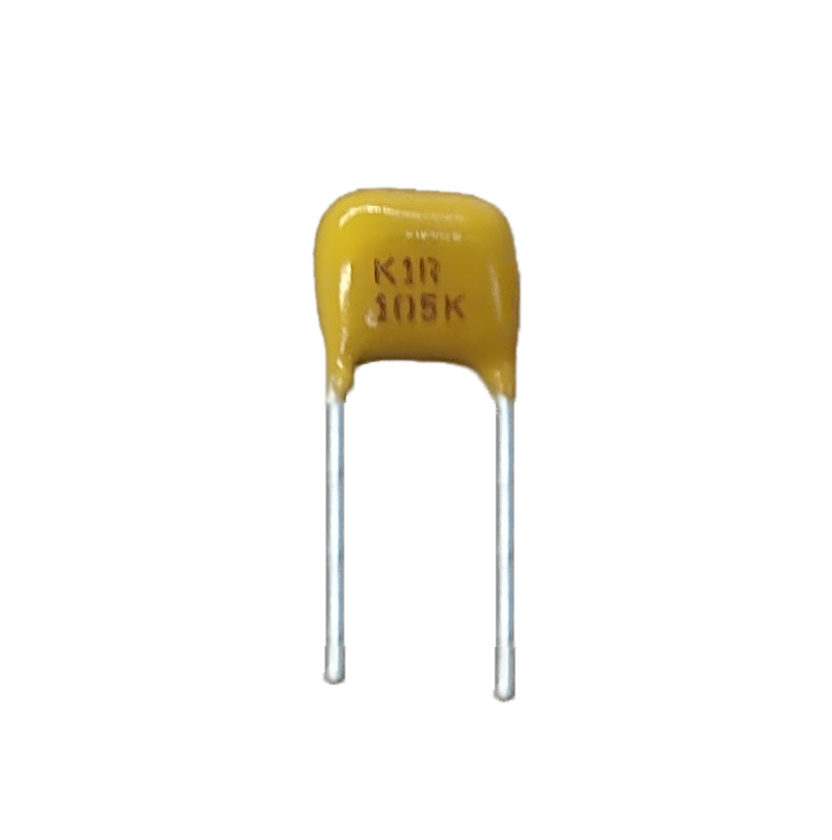

Get to know the CR-150-R6:
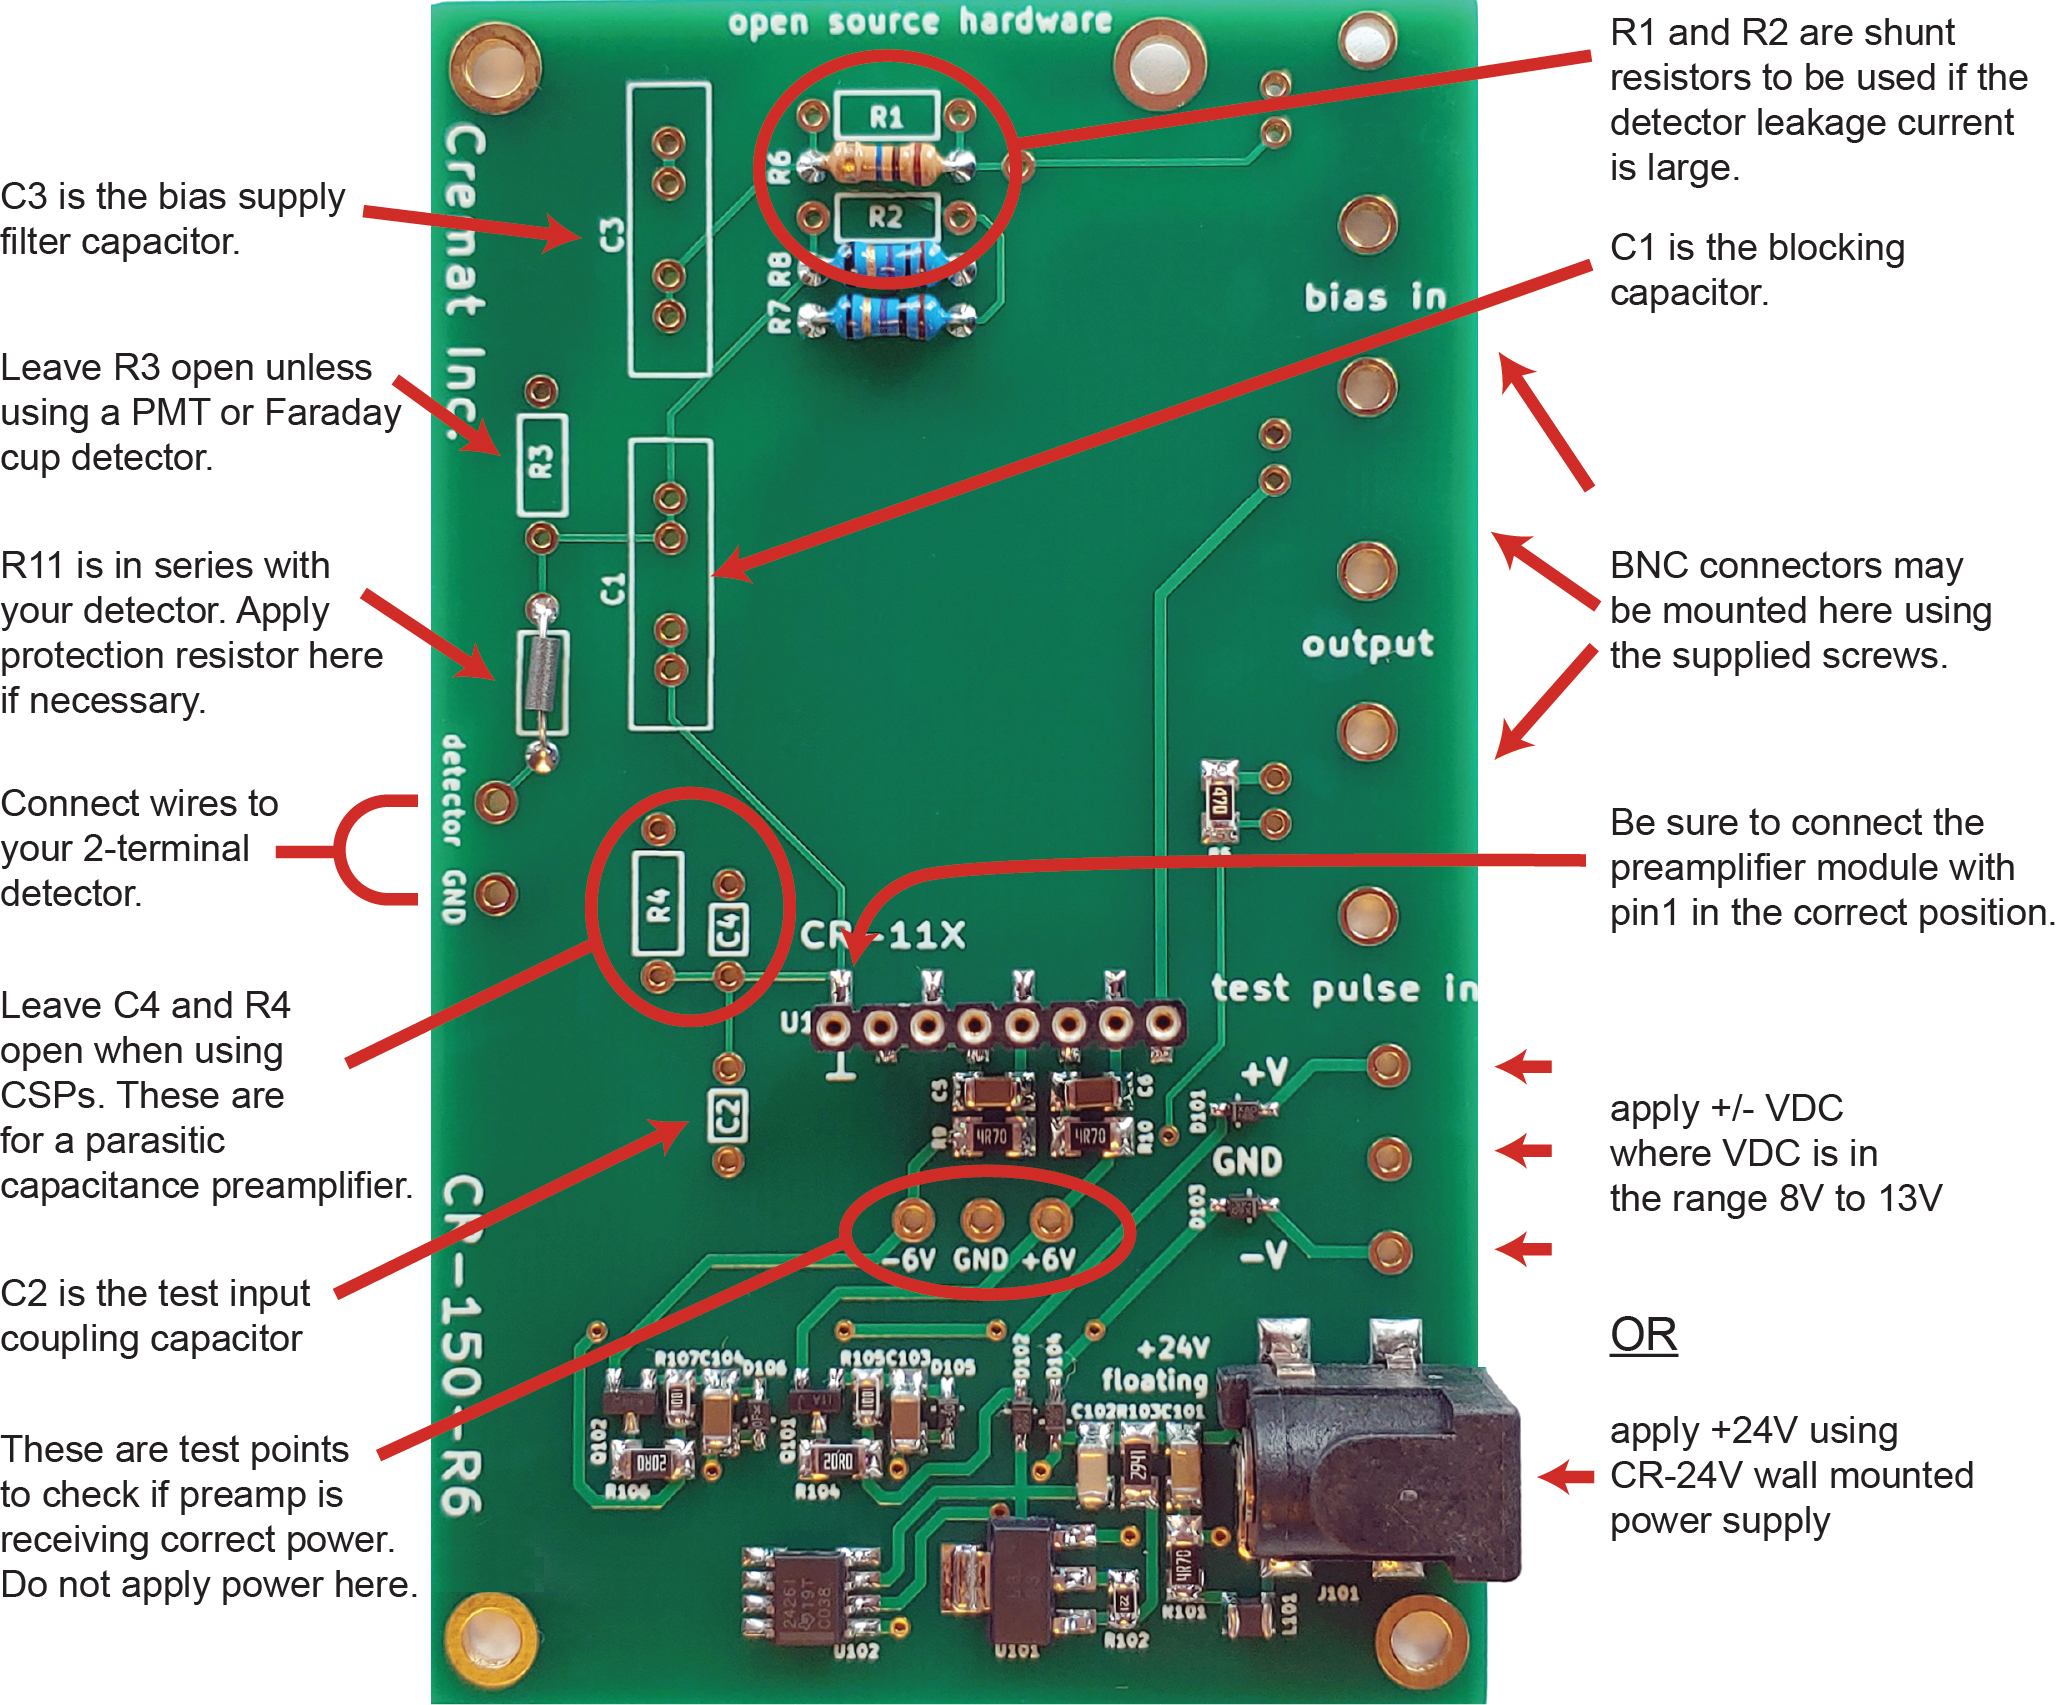
Below is a diagram of the CR-150-R6 evaluation board and the locations of some of the important components. Detailed assembly instructions follow.
A mechanical drawing of the board is here.
A 3D model of the CR-150-R6 board (FreeCAD and .STEP) is here.
Overview of the schematic
The CR-150-R6 schematic diagram is shown below. For simplicity, portions of the schematic pertaining to the power supply have been omitted. See here for a complete PDF version of the schematic.
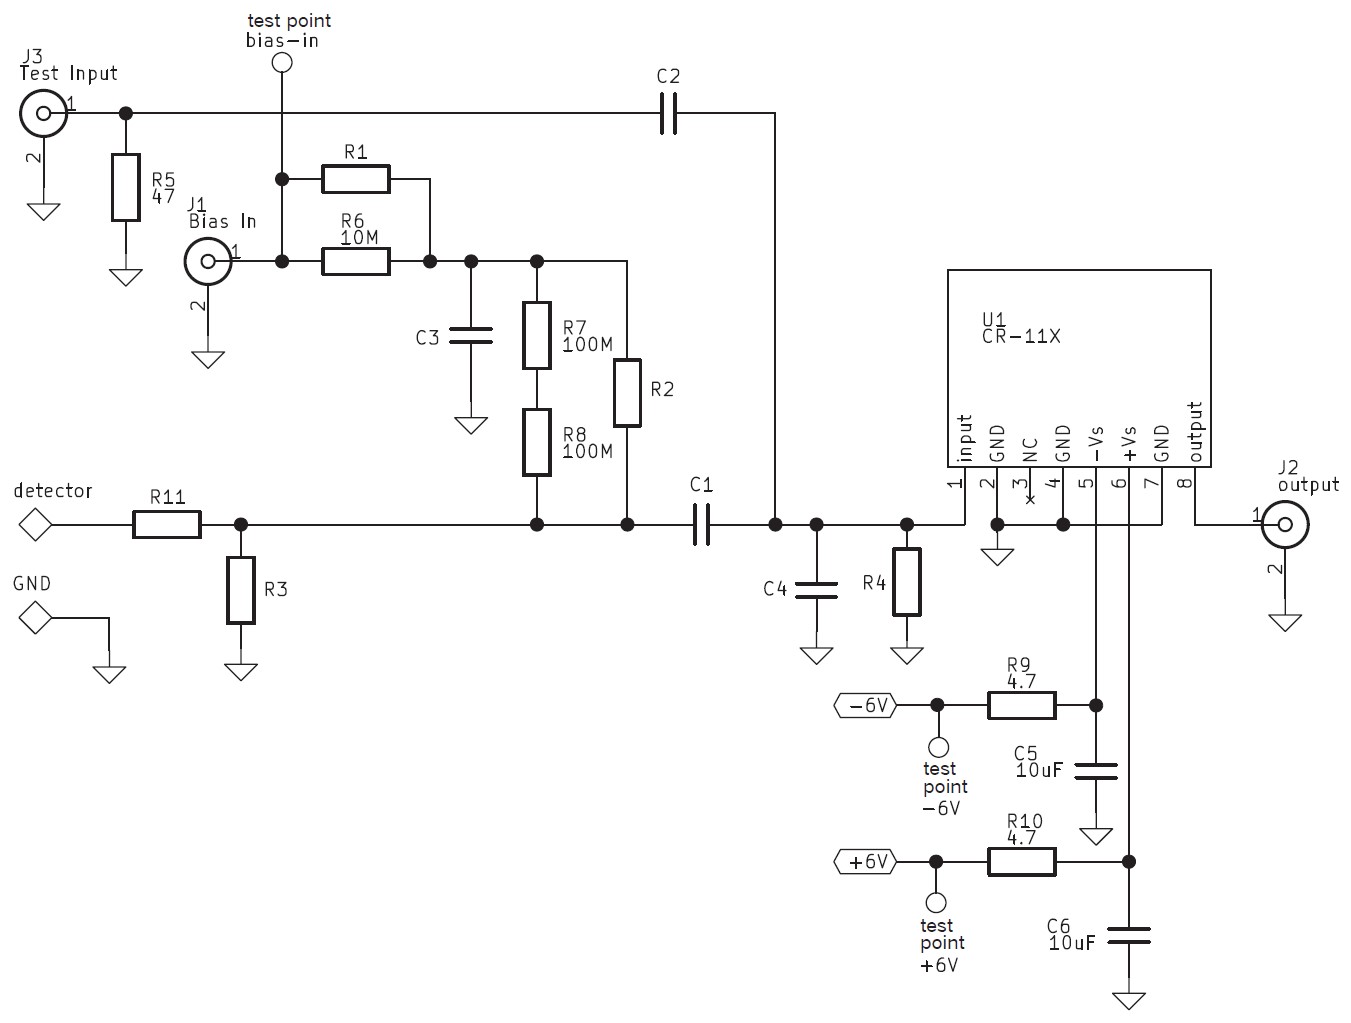
The CR-150-R6 has eight unpopulated positions on the board allowing for the user to customize it to their specific detector type. In particular, R1, C1, R2, C2, R3, C3, R4, and C4 are left unpopulated. Some of these positions will remain unpopulated after assembly. Also the board-mounted BNC connectors are left for the user to assemble to the board.
How to Assemble the CR-150-R6
The assembly of the CR-150-R6 evaluation board depends on the type of detector to be used.
Below are descriptions for four different configurations, depending on the detector and bias voltage.
Configuration 1: for pin photodiodes, CZT/CdTe detectors, APDs, surface barrier (or PIPs) detectors, and gas based detectors. Bias voltages less than 500V. Installation into the CR-150-BOX-R6 housing. Detailed pictorial assembly instructions are here.
Configuration 2: for CZT/CdTe detectors, APDs, surface barrier (or PIPs) detectors, and gas based detectors. Bias voltages 500V to 2kV. Installation into the CR-150-BOX-R6-HV housing. Detailed pictorial assembly instructions are here.
Configuration 3: for SiPM detectors. Installation into the CR-150-BOX-R6 housing. Detailed pictorial assembly instructions are here.
Configuration 4: for Faraday cup, channel electron multipliers, or Photomultiplier tubes. Installation into the CR-150-BOX-NoBias housing. Detailed pictorial assembly instructions are here.
Configuration 1: For pin photodiodes, CZT detectors, APDs, surface barrier (or PIPs) detectors, and gas based detectors. Bias voltages less than 500V
For unity gain detectors such as pin photodiodes, CZT detectors, and surface barrier detectors we recommend using the CR-110 CSP module. APDs and gas based detectors may also use the CR-110, however if these detectors are used at high gain producing signals larger than 0.1 picocoulomb, we suggest using the CR-111 to avoid saturation.
Configuration 1 is similar to Configuration 2, except that a BNC connector is used at the 'bias in' position in Configuration 1. If detector bias voltages exceed 500V (which is the maximum rated voltage for BNC connectors), we recommend using Configuration 2, which instead uses a high voltage connector at the 'bias in' position.
The CR-150-R6 board can be assembled using the values below:
R1: left open. If the detector leakage current exceeds approximately 10nA, then see the discussion below.
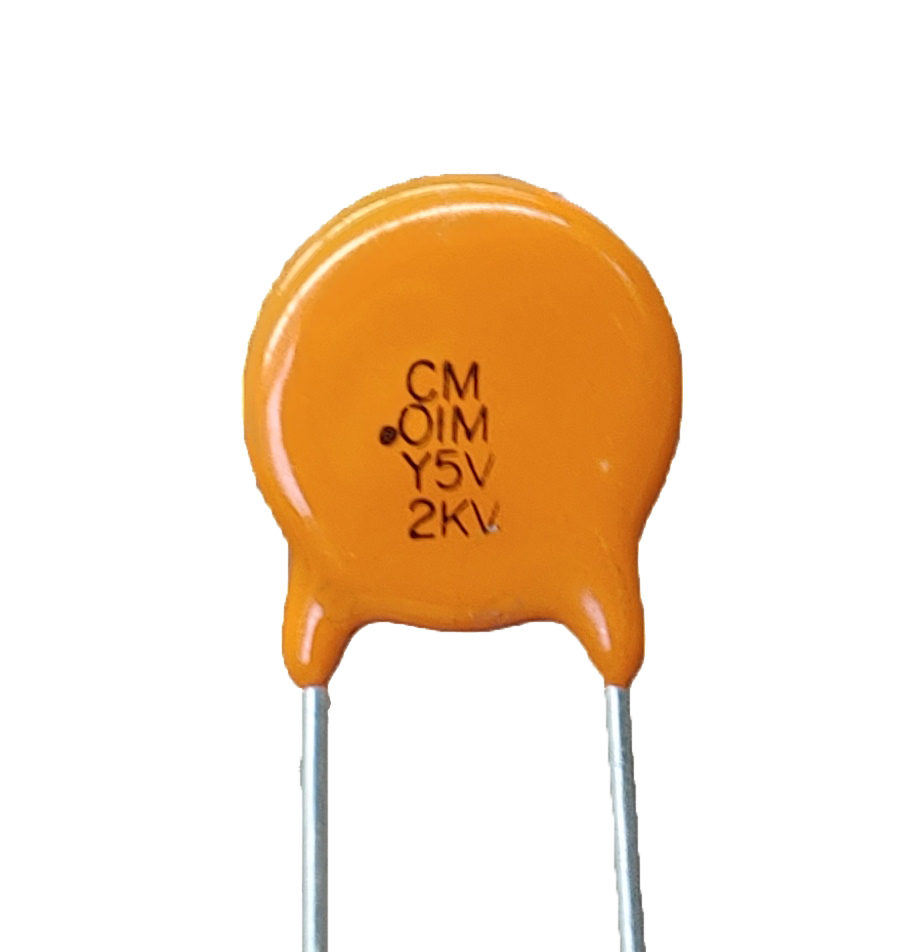
C1: 0.01uF 2kV capacitor (orange colored)
R2: left open. If the detector leakage current exceeds approximately 10nA, then see the discussion below
C2: 1pF capacitor (blue colored)
R3: left open
C3: 0.01uF 2kV capacitor (orange colored)
R4: left open
C4: left open
R11: This position comes with a ferrite bead installed. If input protection is required, however, then replace this with a 220 ohm resistor.
There is a detailed pictorial step-by-step assembly instruction here.
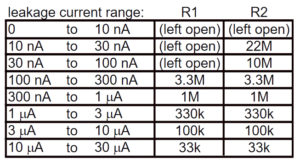
If the detector DC leakage current will exceed approximately 10nA, then consider applying shunt resistors R1 and R2 applied instead of leaving them open. Note: These shunt resistors are not supplied with the CR-150-R6. The CR-150-R6 has a 10M filter resistor and a 200M bias resistor already installed. As part of the 'AC coupled' design, the detector leakage current (DC, or 'dark' detector current) flows through these resistors and produces a voltage drop accordingly. If the detector leakage current is large (>10nA), the voltage drop across these resistors can become significant (2 volts across the bias resistor @10nA). Since these resistors are in series with the detector, these voltage drops effectively subtract from the voltage across the detector. Thus the actual voltage across the detector may be significantly less than the bias voltage applied to the circuit through J1 ('bias in'). The result is an uncertainty in the actual detector bias voltage that some users would find unacceptable. To mitigate this problem, we can apply shunt resistors to the bias filter resistor (R1) and bias resistor (R2) that reduces their effective value and reduces these voltage drops. Choosing shunt resistors R1 and R2 that are too small can also be a problem, because these resistors are a source of thermal noise.
We suggest using the table below to determine reasonable shunt resistor values (shunt resistors are not included):
Configuration 2: For pin photodiodes, CZT detectors, APDs, surface barrier (or PIPs) detectors, and gas based detectors. Bias voltages between 500V and 2kV
For unity gain detectors such as CZT detectors, and surface barrier detectors we recommend using the CR-110 CSP module. APDs and gas based detectors may also use the CR-110, however if these detectors are used at high gain producing signals larger than 0.1 picocoulomb, we suggest using the CR-111 to avoid saturation.
Configuration 2 is similar to Configuration 1, except that a high voltage connector is used at the 'bias in' position in Configuration 2. If detector bias voltages are less than 500V (which is the maximum rated voltage for BNC connectors), we recommend using Configuration 1, which instead uses a BNC connector at the 'bias in' position.
The CR-150-R6 board can be assembled using the values below:
R1: left open. If the detector leakage current exceeds approximately 10nA, then see the discussion below.
C1: 0.01uF 2kV capacitor (orange colored)
R2: left open. If the detector leakage current exceeds approximately 10nA, then see the discussion below
C2: 1pF capacitor (blue colored)
R3: left open
C3: 0.01uF 2kV capacitor (orange colored)
R4: left open
C4: left open
R11: This position comes with a ferrite bead installed. If input protection is required, however, then replace this with a 220 ohm resistor.
There is a detailed pictorial step-by-step assembly instruction here.
If the detector DC leakage current will exceed approximately 10nA, then consider applying shunt resistors R1 and R2 applied instead of leaving them open. Note: These shunt resistors are not supplied with the CR-150-R6. The CR-150-R6 has a 10M filter resistor and a 200M bias resistor already installed. As part of the 'AC coupled' design, the detector leakage current (DC, or 'dark' detector current) flows through these resistors and produces a voltage drop accordingly. If the detector leakage current is large (>10nA), the voltage drop across these resistors can become significant (2 volts across the bias resistor @10nA). Since these resistors are in series with the detector, these voltage drops effectively subtract from the voltage across the detector. Thus the actual voltage across the detector may be significantly less than the bias voltage applied to the circuit through J1 ('bias in'). The result is an uncertainty in the actual detector bias voltage that some users would find unacceptable. To mitigate this problem, we can apply shunt resistors to the bias filter resistor (R1) and bias resistor (R2) that reduces their effective value and reduces these voltage drops. Choosing shunt resistors R1 and R2 that are too small can also be a problem, because these resistors are a source of thermal noise.
We suggest using the table below to determine reasonable shunt resistor values (shunt resistors are not included):

Configuration 3: For SiPM detectors
For SiPM detectors we recommend using the CR-113 CSP module with the CR-150-R6 board. To customize the CR-150-R6 board for SiPM detectors we recommend using the following values:
R1: 100 ohm resistor
C1: 1uF 100V ceramic capacitor (yellow, larger)
R2: 10k ohm resistor
C2: 10pF capacitor (yellow, smaller)
R3: left open
C3: 1uF 100V ceramic capacitor (yellow, larger)
R4: left open
C4: left open
There is a detailed pictorial step-by-step assembly instruction here.
Configuration 4: For Faraday cup, channel electron multipliers, or Photomultiplier tubes
For these types of detectors we recommend using the CR-113 CSP module with the CR-150-R6 board. To customize the CR-150-R6 board we recommend using the following values:
R1: left open
C1: 1uF 100V ceramic capacitor (yellow, larger)
R2: left open
C2: 10pF capacitor (yellow, smaller)
R3: 1 Megohm resistor
C3: left open
R4: left open
C4: left open
There is a detailed pictorial step-by-step assembly instruction here.